You must be an admin of the Jira Service Management instance.
Guide
Login to your Venafi account, and obtain your API key. You may need to generate one by following Venafi's instructions.
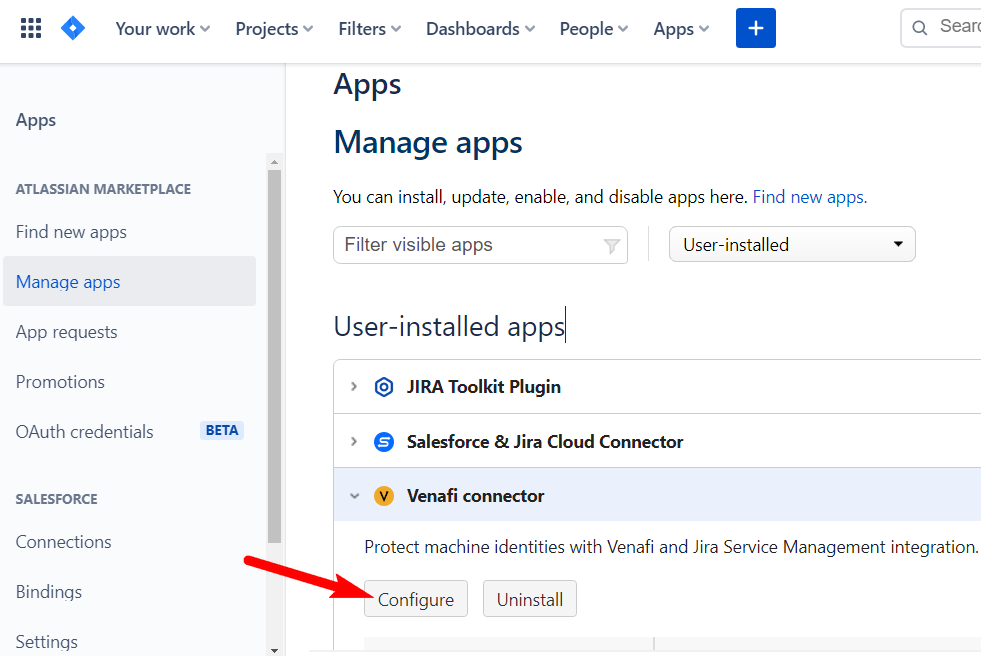
Return to your Jira Service Management and click on (Administration setting) > Apps > Manage Apps.
Under User-installed apps, click on Venaficonnector then click on Configure.
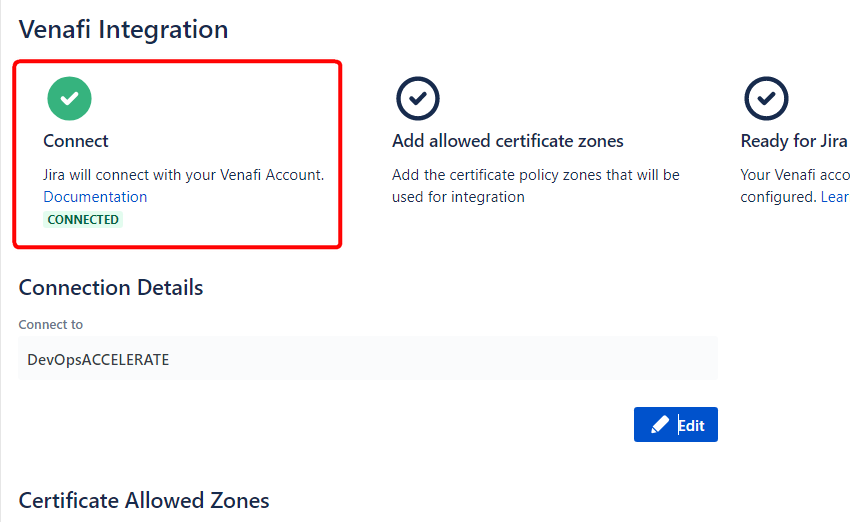
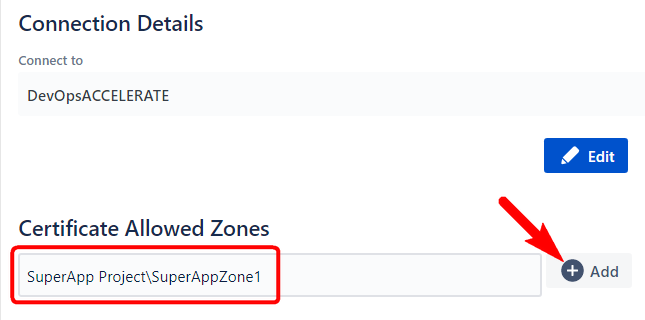
The Venafi integration window appears. Under Connection Details > Connect to:, choose the Venafi platform you are using - in this case, DevOpsACCELERATE. Then paste the API key you had copied earlier into the API key section.
Click on Test and Save, and in a few seconds you should see a confirmation message.
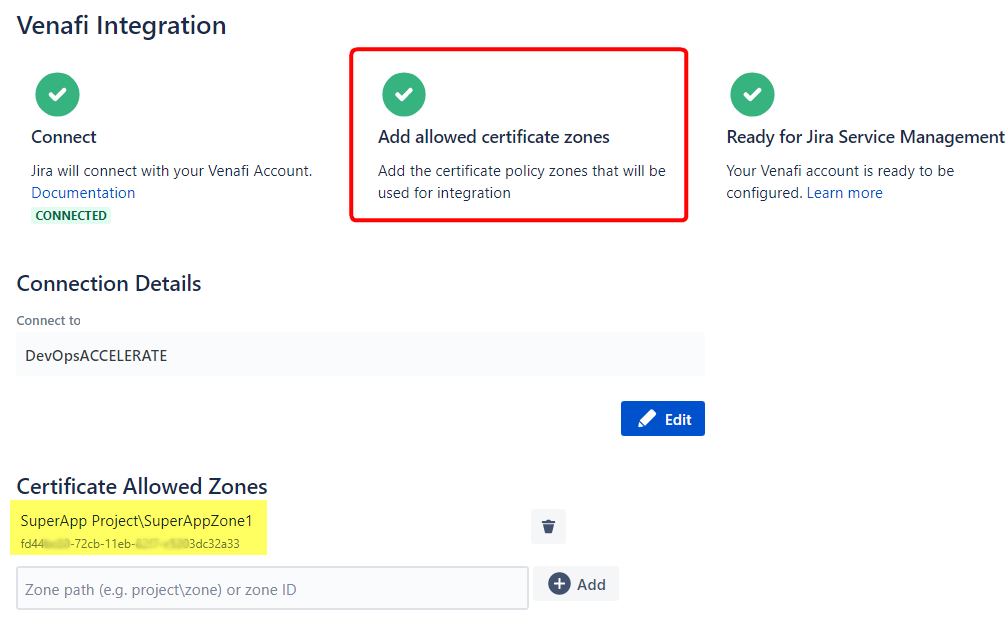
Next, you need to configure the certificate policy folders or zones that will be used for the integration. These zones will later be shown to your users in request forms. In the Certificate Allowed Zones section. Fill in the zone path in "project\zone" format and click on Add. Alternatively, you can also paste in the zone ID from Venafi.
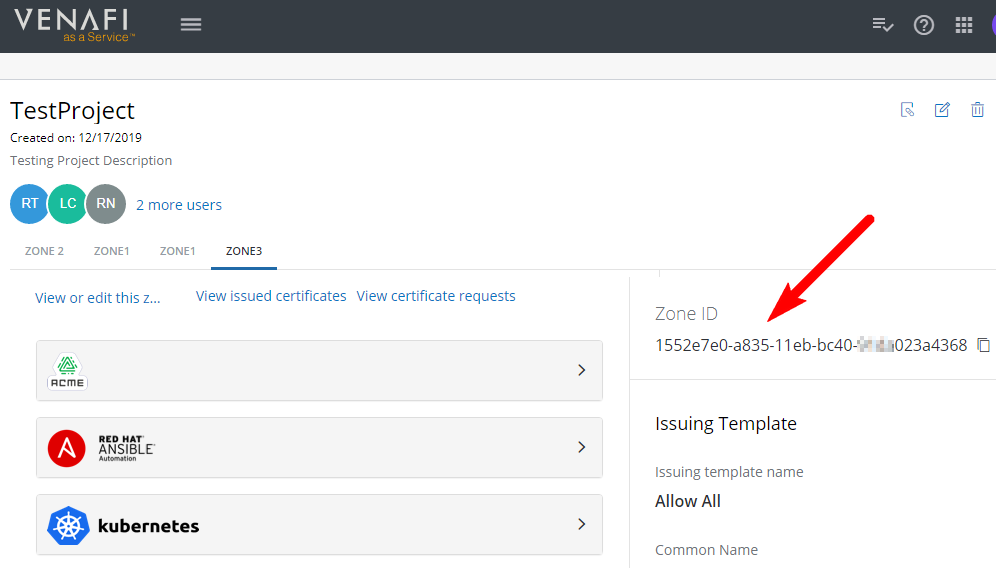
The zone path is based on your Venafi project name(s) and zone name(s). This information is available in your Venafi account in the Projects tab, The zone ID is also available in this tab, and you can choose to use zone IDs instead of zone names.
You should see a green check to indicate a zone has been added. Next, you will need to create JSM pages and configure them to work with the Venafi connector. These steps are covered in the links below.


 The zone path is based on your Venafi project name(s) and zone name(s). This information is available in your Venafi account in the Projects tab, The zone ID is also available in this tab, and you can choose to use zone IDs instead of zone names.