Authorizing Salesforce for Miro
Here’s how to authorize the connection between your Miro and Salesforce accounts:
Open your Miro board.
On the toolbar, click More apps > select or search for Salesforce for Miro.
Allow permissions for the 'Salesforce for Miro' app by toggling Enable.
Tick the checkbox and click I accept to allow the app’s request permissions.
Click the Take me to Salesforce button to log into your account.
Enter your username and password on the Salesforce login screen, then click Log In.
The app will request permission to access your Salesforce data. Click Allow.
Upon successful authentication, the system will redirect you back to Miro.
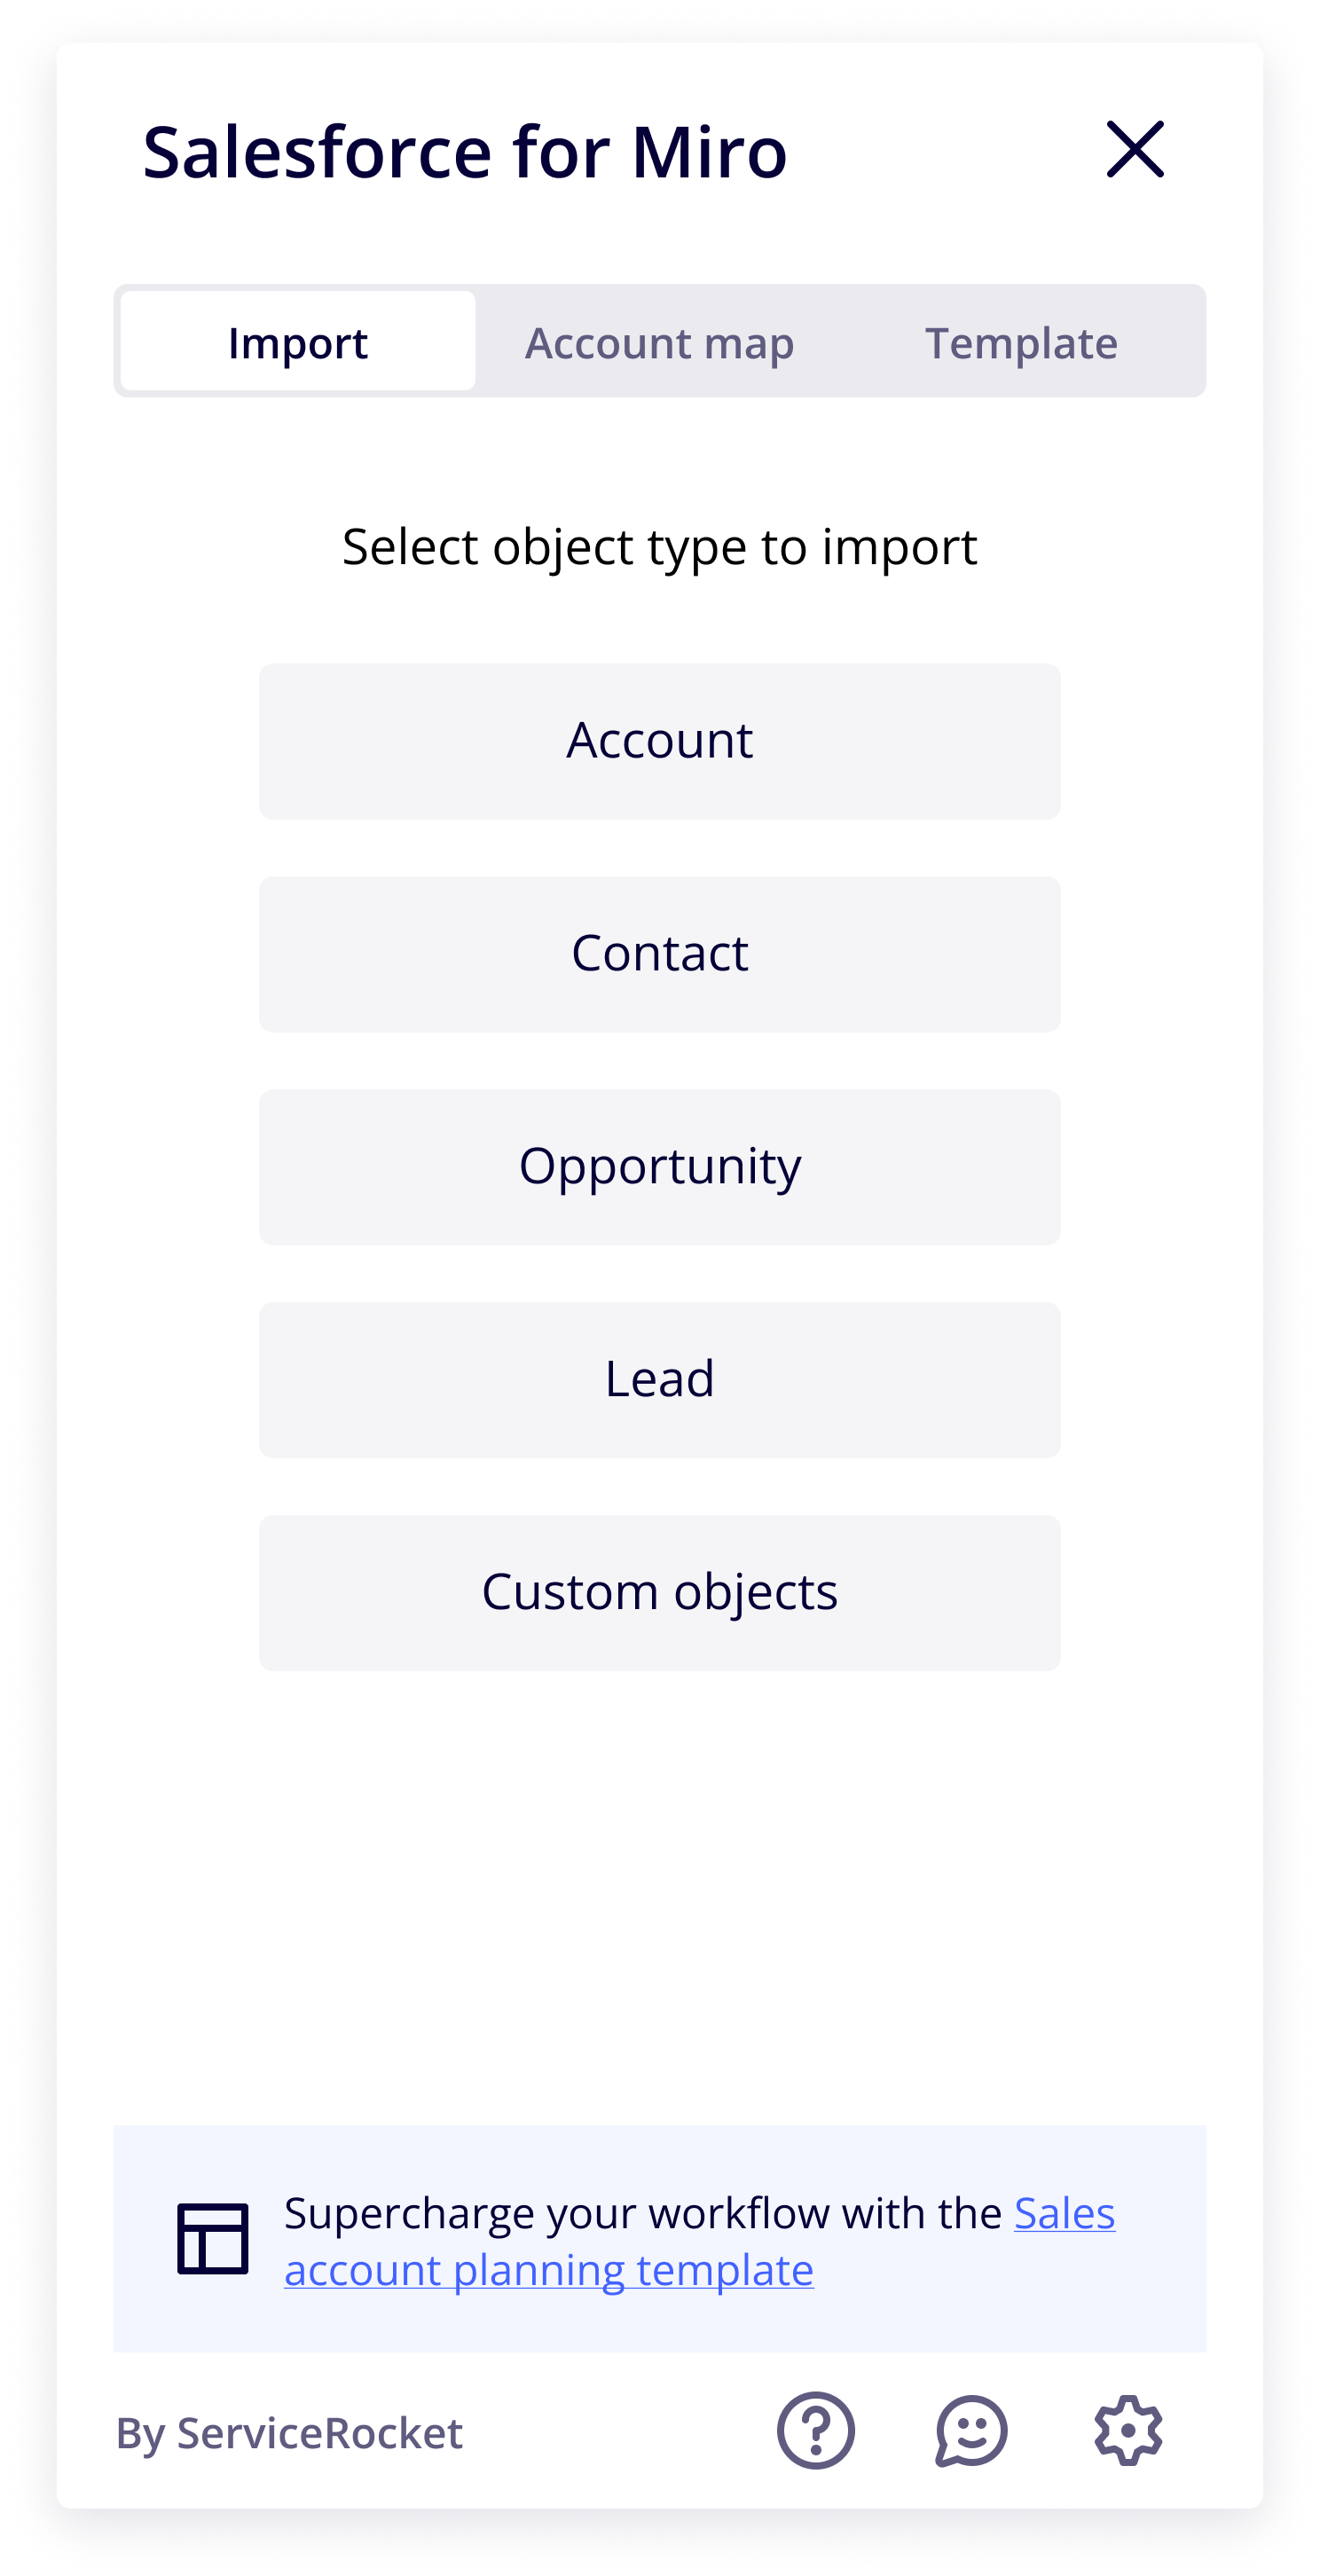
By default, you will be on the Import tab of the app.

That’s it! The setup is completed.
The Custom objects feature is not available yet, we are working on it! Look forward to:
Importing custom Salesforce objects in your Miro board
Click Share process to share your use case on why these features would be helpful to your team.
You can now start using the app, check out these documents to explore more features:
