Using Account Map Linking
This feature is only available to users on a free trial or an active subscription of any paid plan, including Standard, Advanced, Premium, and Enterprise.
Complete the setup for Account Map Linking on this page: Setting up Account Map Linking before proceeding with the steps below.
Open the app from the side panel.
Click on the Account map tab and click Continue.
Return to the Salesforce for Miro app. Click Refresh and the screen will change to the account map interface.
You only have to click Refresh once, the next time you open the Account map, it will take you directly to the Account map screen.
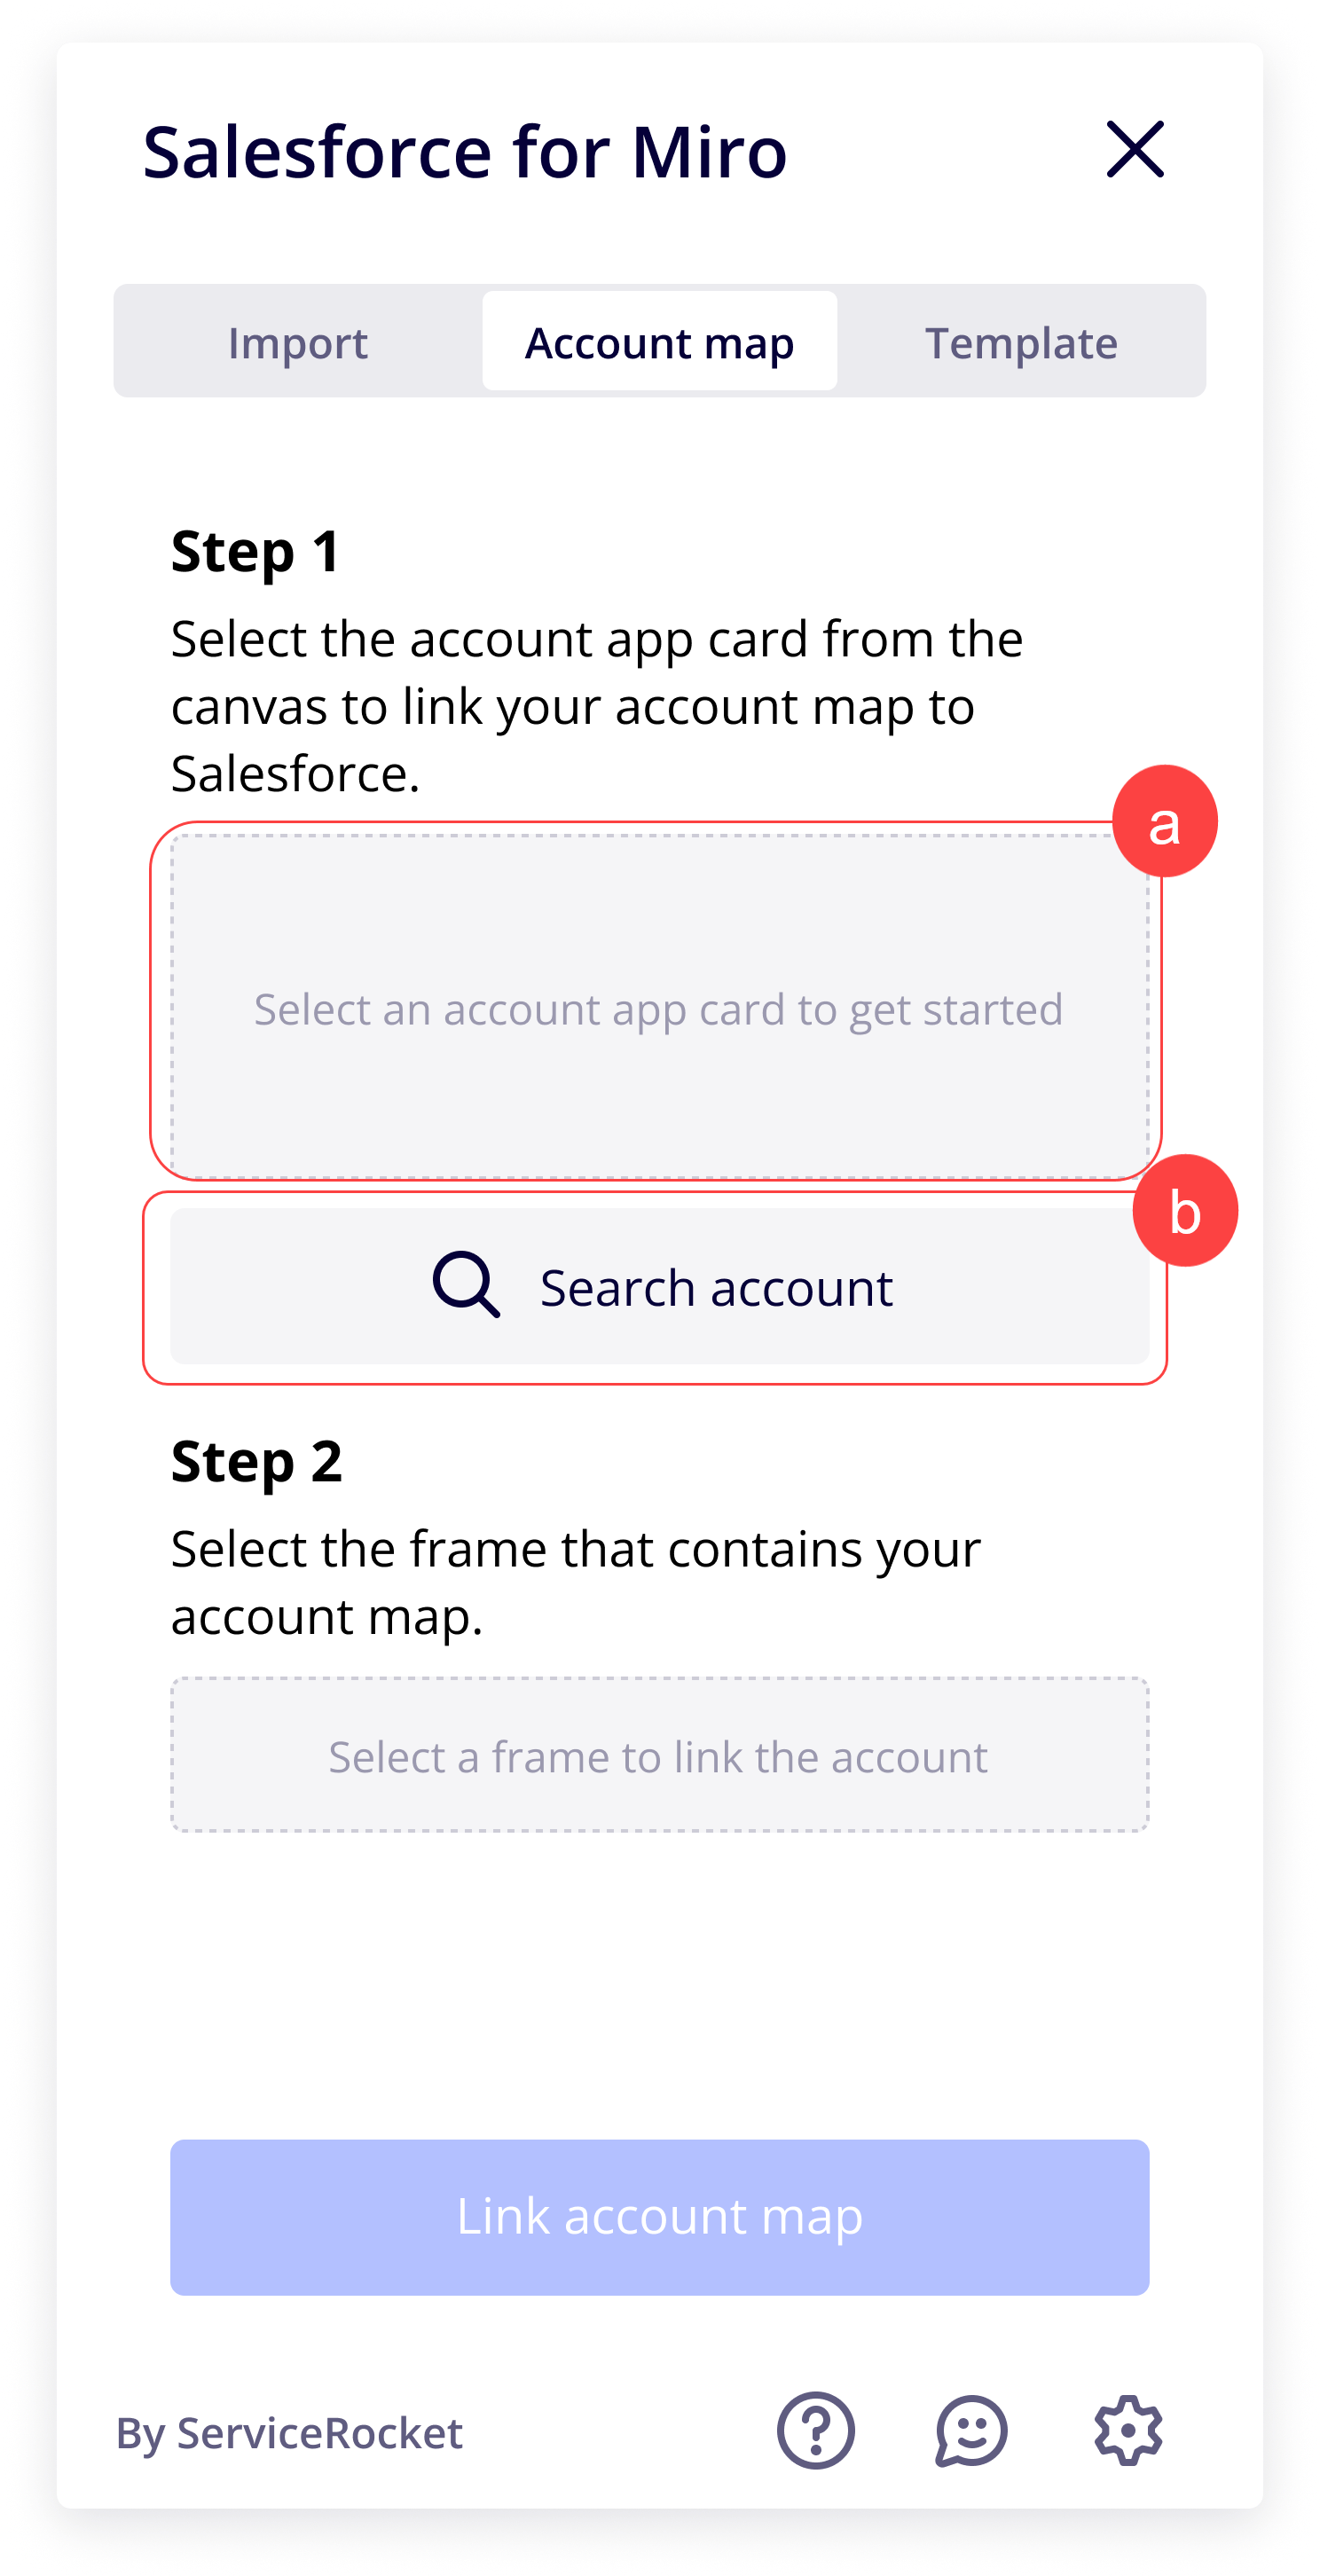
There are two methods to select the account card. You can either:
Click on the account card from the Miro canvas or
Click Search account to open the search modal and search for your desired account.

If the app detects that the selected account already has an existing account map linked in Salesforce. An inline warning message will inform you that continuing will overwrite the existing account map.
You can either:
Change your account selection
orOverwrite the existing account map
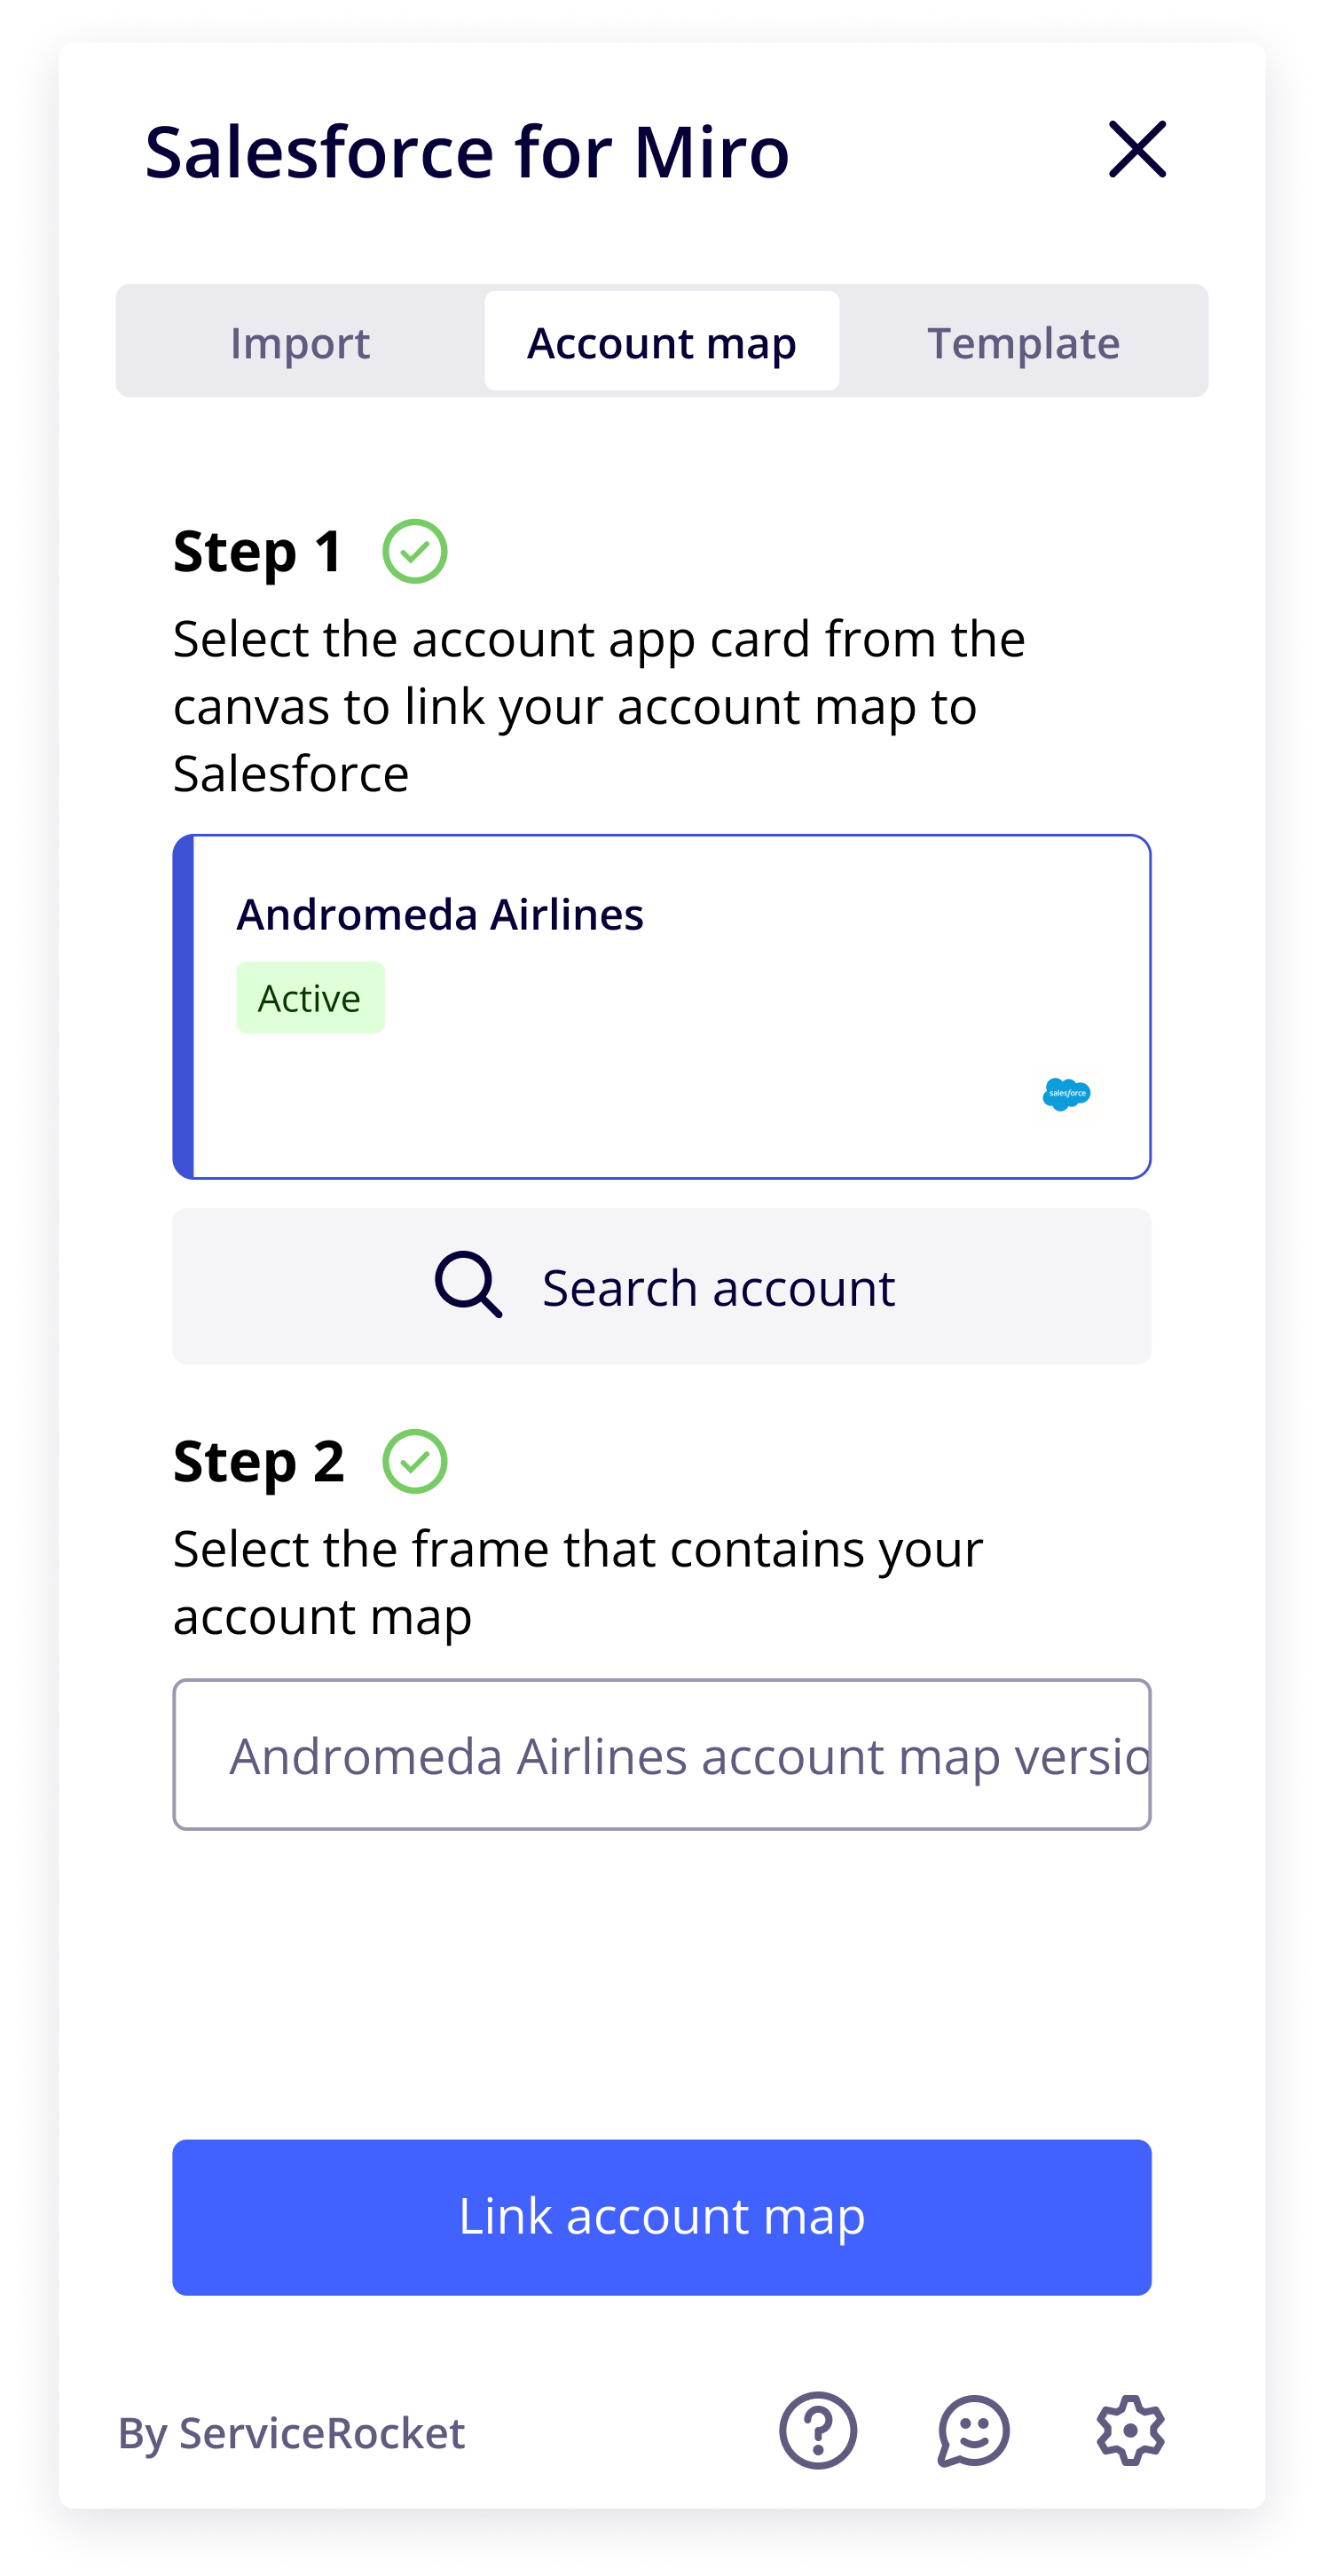
Select the account map frame. The name of the frame will then appear in the input field.

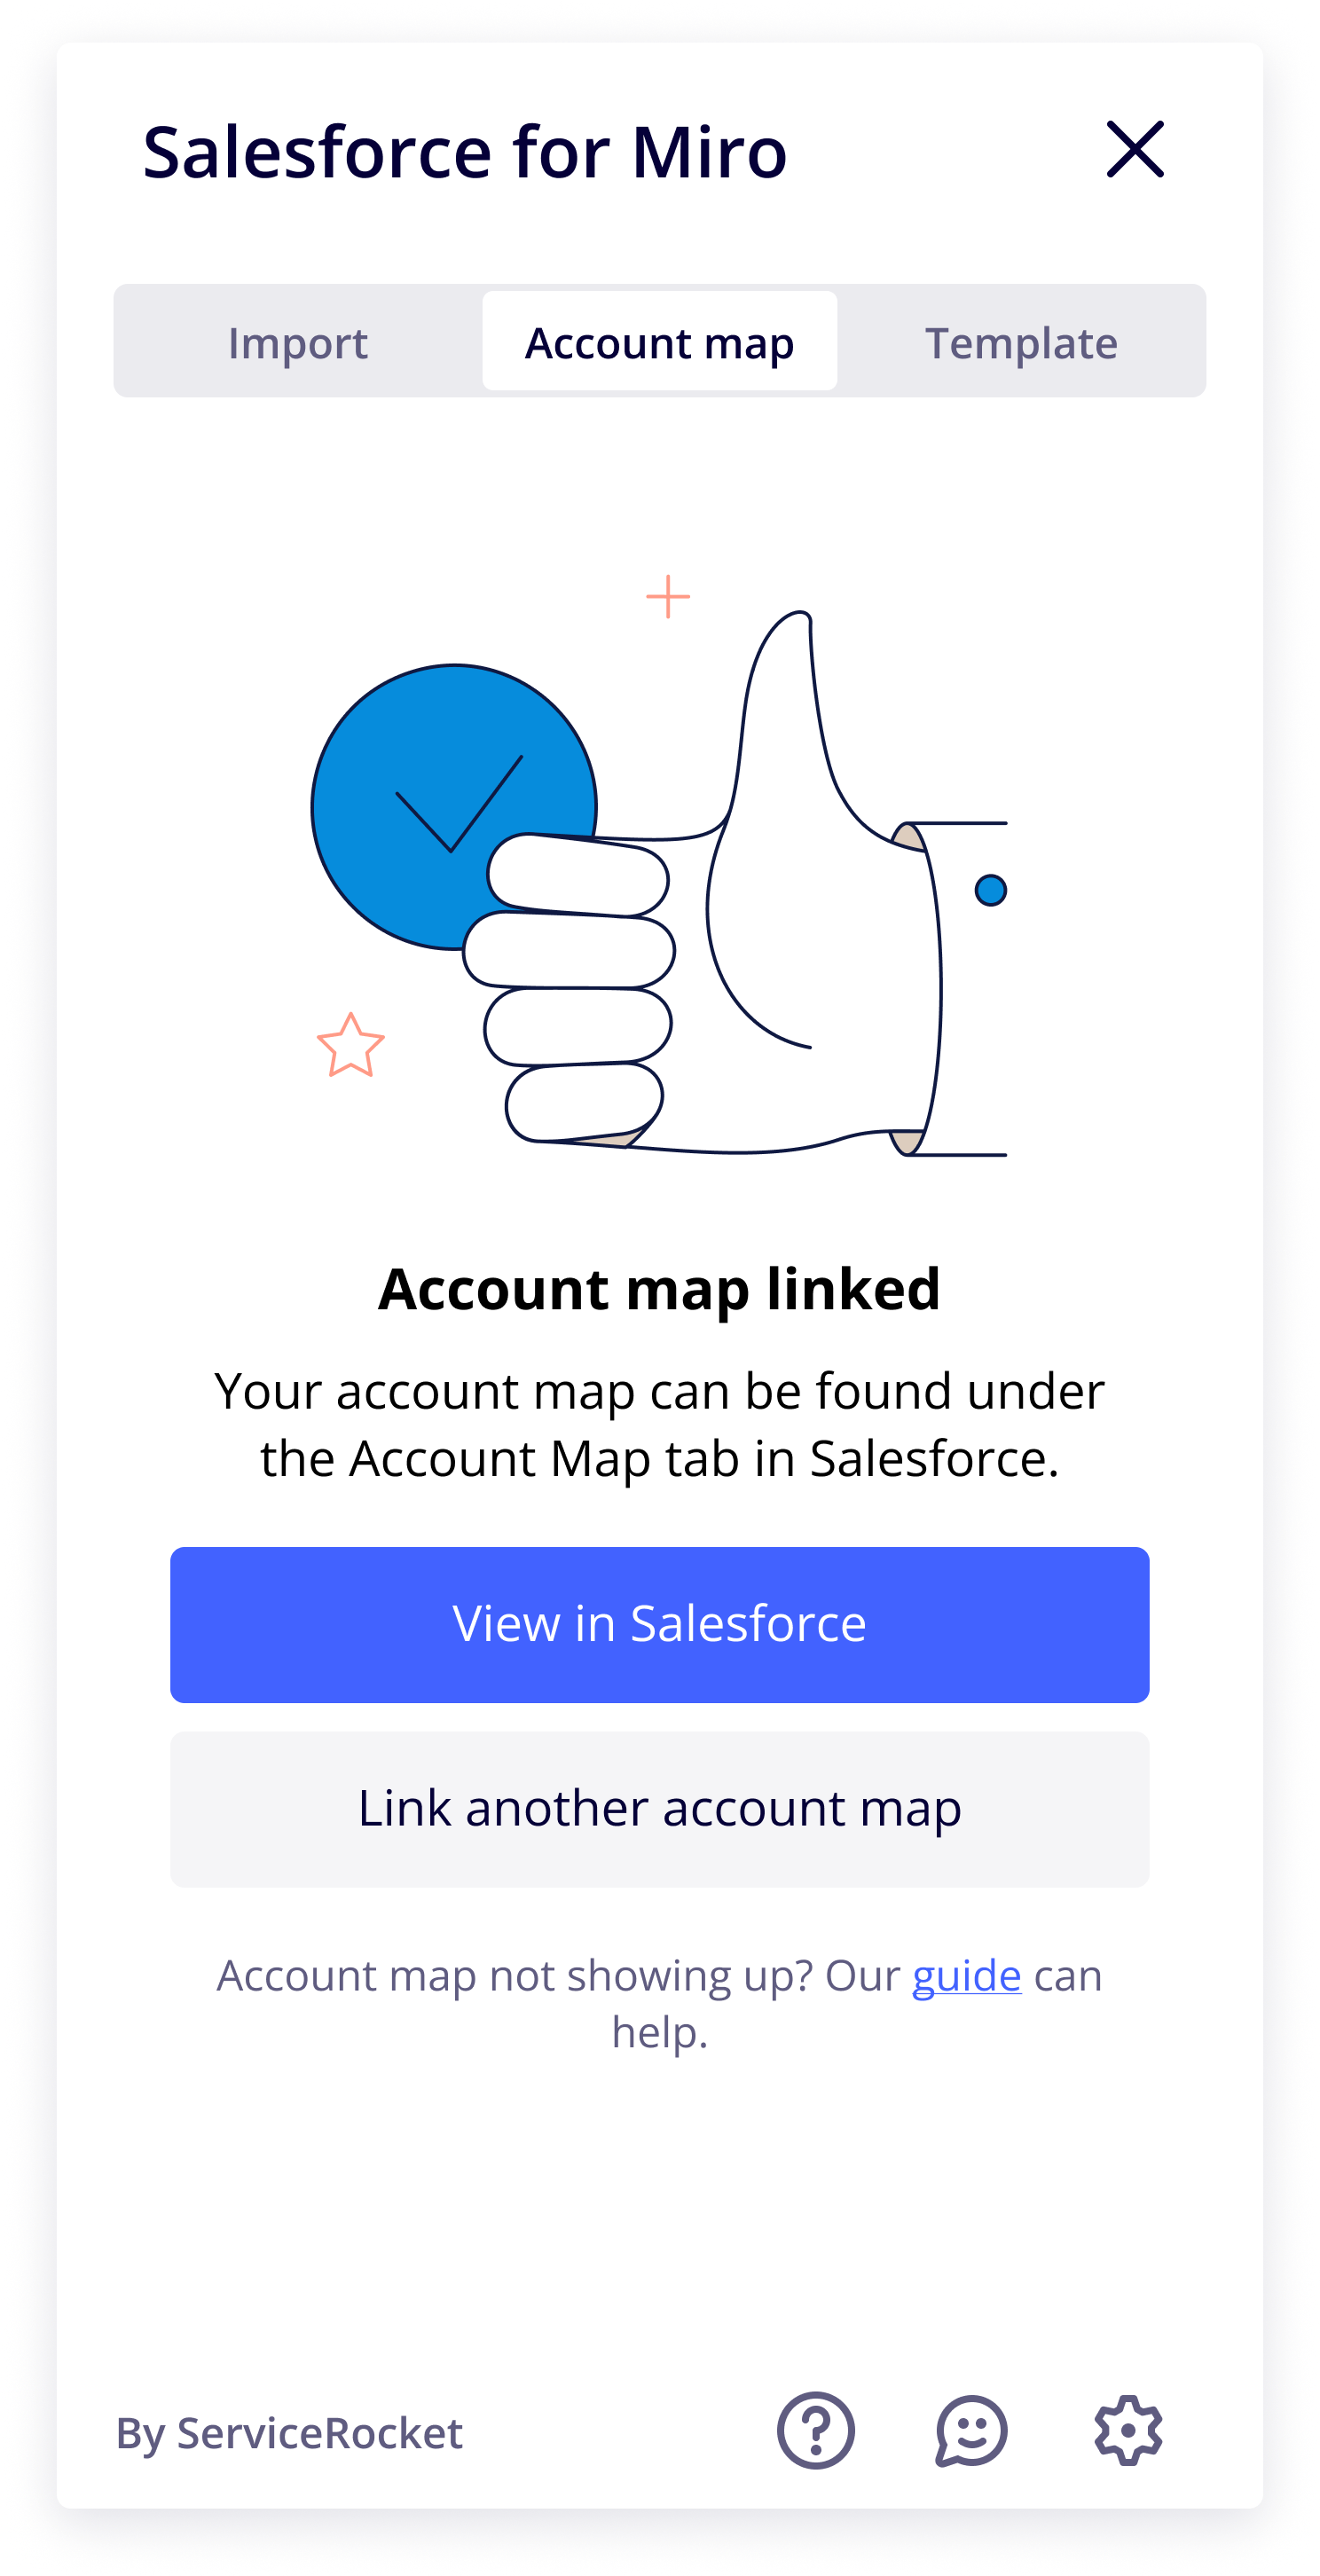
Click the Link account map button to complete the action. Upon successful completion, the following message will appear as shown in the screenshot below:

You can now either:
Click View in Salesforce to be directed to the linked account map in Salesforce (opens in a new tab).
Click Link another account map to be directed back to the Account map tab, where you can repeat the process.
