
Customizing the look and feel of your survey
Survey customization allows you to deliver a consistent brand experience to your customers. By customizing the icons, logo, banner color, and success message, you can design the survey's look and feel.
https://www.youtube.com/watch?v=Oq1pV9VcrWE&t=2sChoosing the scale and icon set for the survey
Click Project settings > Survey settings > select the Customize tab.
Under the Scale and icons section, choose a scale to match the icon set from the dropdown box for Scale and Icons.
 The larger the scale number, the more icons will be displayed.
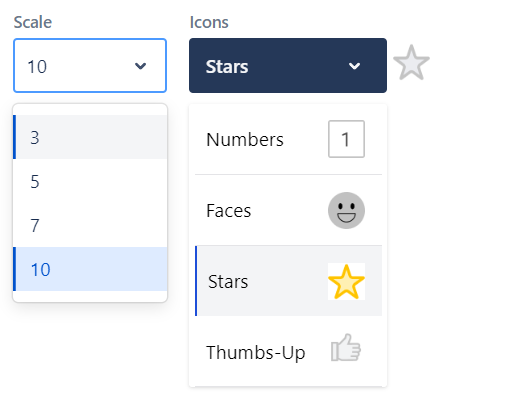
While you can customize the icons in the survey, the icons that appear in the emails sent to customers to fill up the survey will default to the star icon (☆). For more information, read our FAQ about these emails.
Inserting a logo within the survey
Under the Logo section, click Update, and a window will pop up.
Click Upload/Edit Image to upload the logo. Next, click Save to complete the changes.
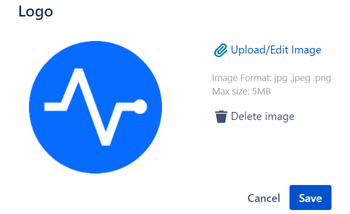
The customization of the logo is applicable to both the survey content and email notifications.
Changing the color of the banner
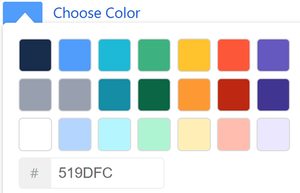
Under the Logo section, click Choose Color.
Pick a color from the color palette or insert your own color code.
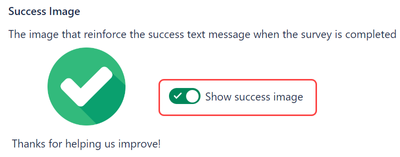
Enabling the success message
Click the Show success image button to toggle the switch to
 .
. 
What's next
We’re continuously enhancing the JSM Survey app with features inspired by your valuable feedback. While we work on updating our videos to reflect these improvements, you may notice some differences in the steps shown.