
Using Secure Notes as a Service Desk agent
Adding a Secure Note in a Service Desk project
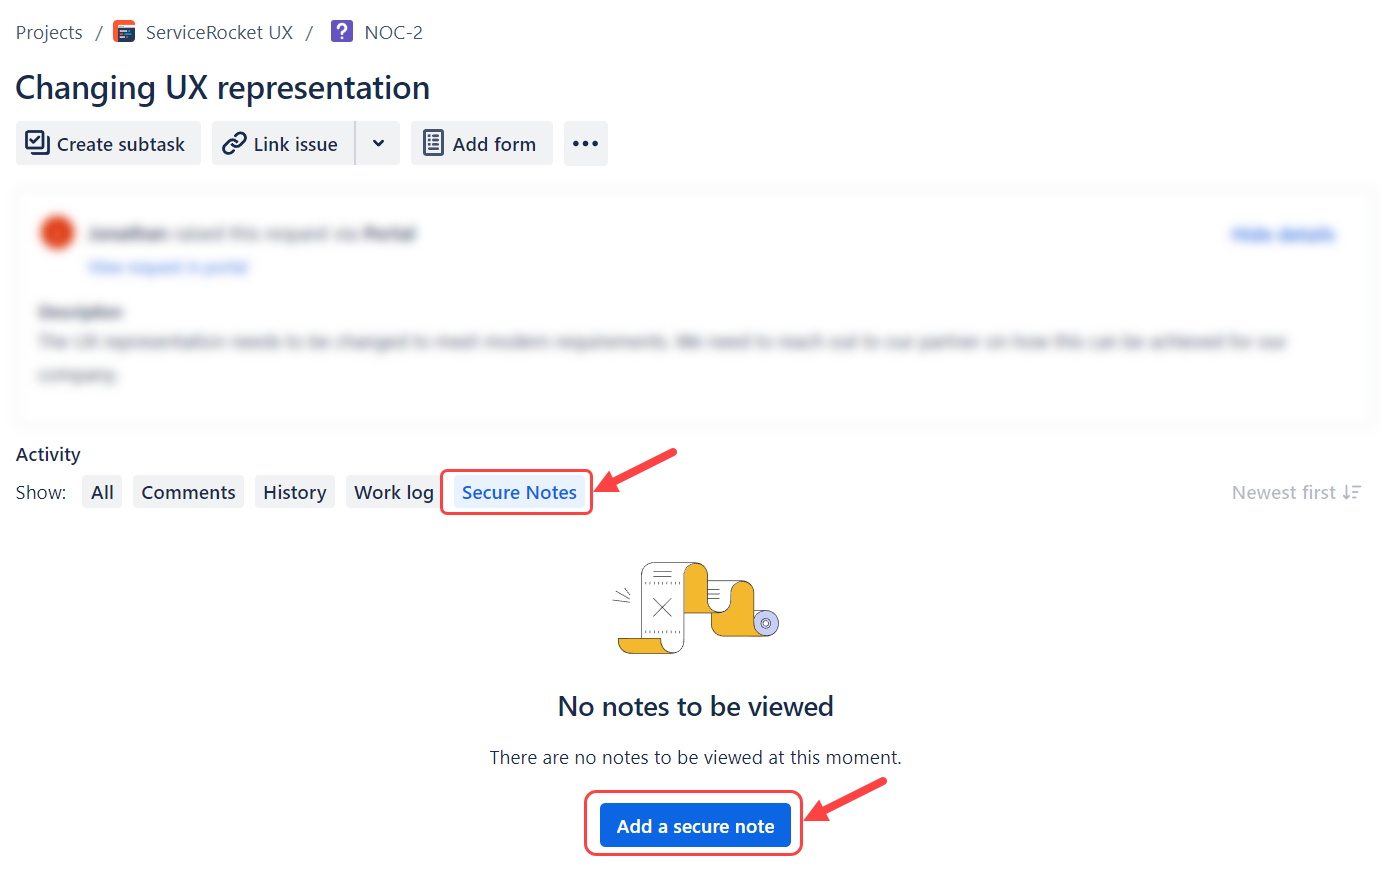
Open an issue in your Service Desk project.
Scroll to the Activity section, click Secure Notes, and click Add a secure note.
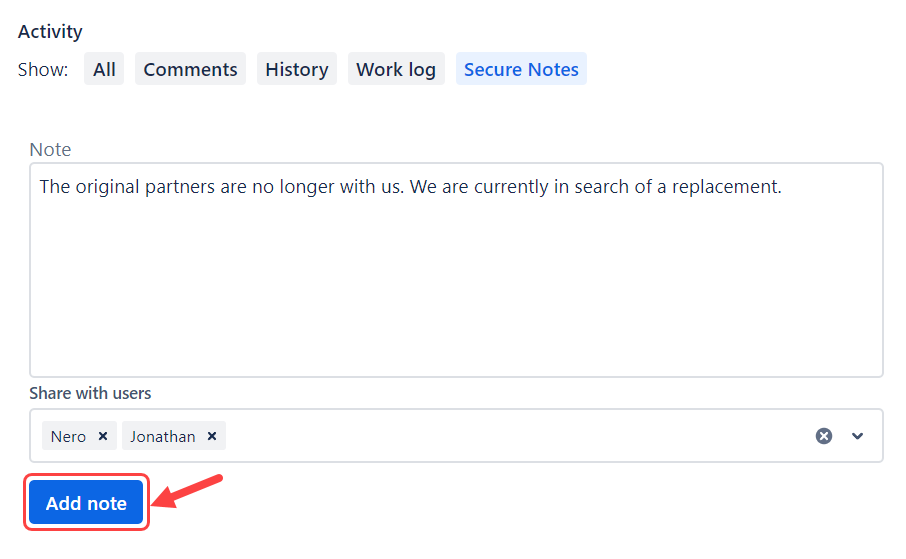
Fill in the note’s content and select the users who should access it. Then, click Add note.
You can add multiple Service Desk agents and portal customers to view your notes.
Fill in the Subscribe to Secure Notes form to register and click Subscribe to proceed using the app’s feature.
You have successfully created the note, which is now visible to those with whom the Service Desk agent shared it.
Editing a Secure Note in a Service Desk project
Open an issue in your Service Desk project.
Scroll to the Activity section > Secure Notes > Unlock note.
Click Edit to update the content of the note and the shared users.
Click Save once the updates have been confirmed.
Deleting a Secure Note in a Service Desk project
Open an issue in your Service Desk project.
Scroll to the Activity section, click Secure Notes > Unlock note > Delete.
Click Delete again in the modal to confirm your deletion.
Once the note is deleted, this action cannot be undone.