
Connect your shared calendar to allow customers to book appointments with your agents.
Connecting a calendar
-
Log in to your Jira Service Management instance.
-
Click Apps > Scheduler for JSM.
-
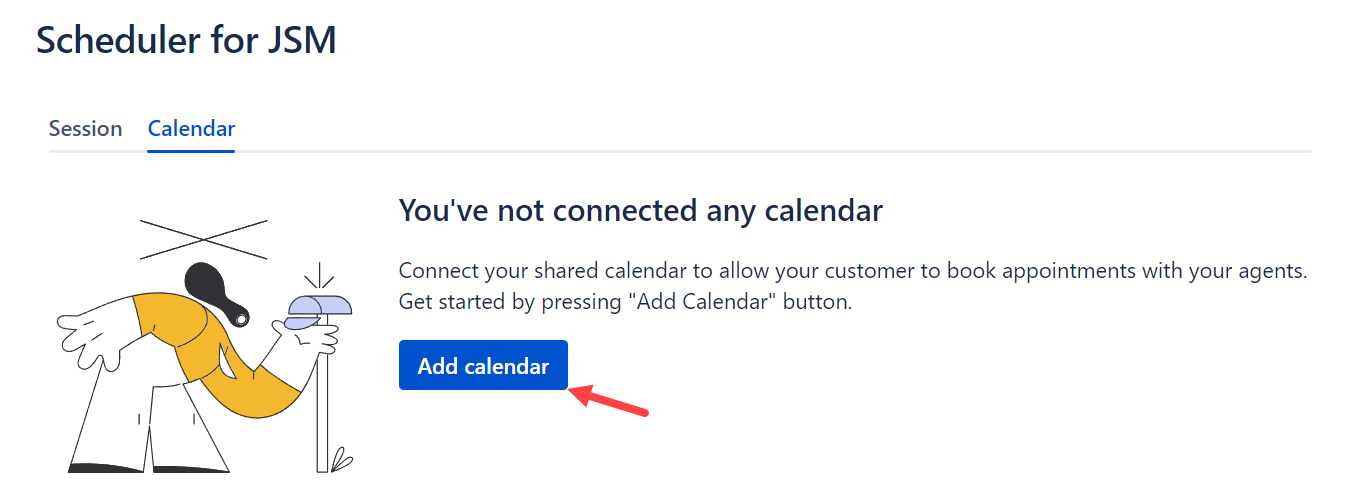
Click Add calendar.
-
Click the Connect button in the window prompting you to select a Google calendar to connect to.
-
Choose the Google account you wish to connect with and click Continue again.
-
Click Allow to grant Scheduler for JSM access to your Google account.
-
You will see the message "Authentication is successful. Please acknowledge your connection in the previous screen to proceed." Close this tab and return to Jira.
-
Click Yes to acknowledge the connection.
-
Select your personal/shared calendar that you want to connect to and click Connect.
To learn how to create and share a group calendar with your team, refer to this documentation for detailed instructions: https://support.google.com/a/answer/1626902?hl=en
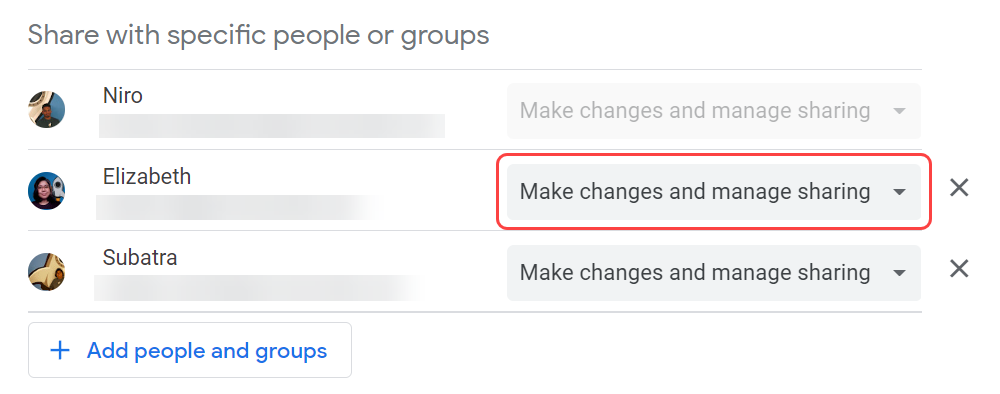
Ensure that all the participants of the shared calendar have the “Make changes and manage sharing” permission in the Google Calendar’s Settings and sharing for a smooth experience.
-
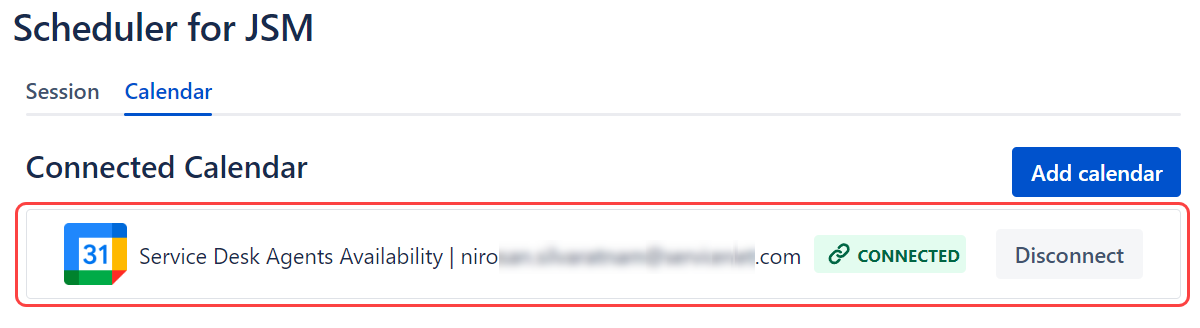
Congratulations, you have successfully connected your first Google calendar! Next, configure the session for the calendar.
-
Repeat step 3 to continue adding more calendars.
Disconnecting a calendar
To disconnect a calendar, it's necessary to ensure it is inactive in a session. Please remove the calendar from the session or deactivate the session before attempting to disconnect the calendar.
-
Under the Calendar tab, click Disconnect to deactivate the calendar connection.
Next step