
Step 3 - Adding visual components to the Lead/Contact/Account/Opportunity record page
Mosaic macros cannot be exported to this format.
Mosaic macros cannot be exported to this format.
Mosaic macros cannot be exported to this format.
Steps
For each Lead/Contact/Account/Opportunity record page, we will need to drag and drop the UI components for the Instruqt connector.
In this example, we are configuring the visual components for Leads.
Go to App Launcher > Search for "Leads" > Click Leads.
Create a new Lead if there is no entry available. Choose any Lead and click on the name to view the record page.
In the top right, click on the gear icon (Setup) and select Edit Page.
The custom component required for each record differs like the following:
For Leads and Contacts, drag and drop "Instruqt for Leads and Contacts" component.
For Accounts and Opportunities, drag and drop "Instruqt for Accounts and Opportunities" component.
⚠️ Ensure that the component is placed in its own area, placing the component inside another component will result in a broken user interface due to CSS conflicts.
Click Save on the top right after adding the custom components.
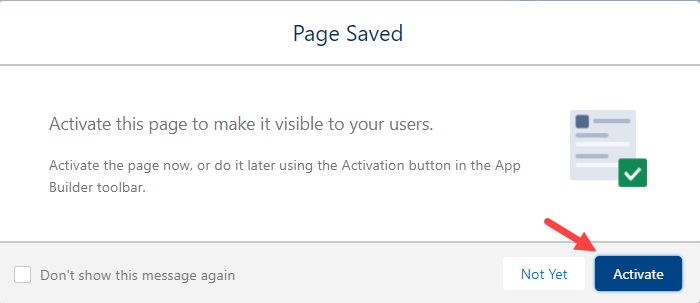
Click Activate to make the new page layout visible to the users.
In the next screen, click Assign as Org Default to make it the default page layout for all Lead record pages in Salesforce. Keep clicking Next until you reach Save to finalize the setup.
Repeat Steps 2 to 8, for Contacts, Accounts, and Opportunities.